
Are you an adventurous soul who loves exploring the great outdoors with your trusty RV? If so, harnessing the power of the sun through an RV solar charge controller can be a game-changer for your off-grid adventures. In this guide, we'll take you through the process of wiring an RV solar charge controller step-by-step, empowering you to make the most of solar energy during your travels. So, let's dive in and discover the magic of solar power!
Understanding Solar Charge Controllers
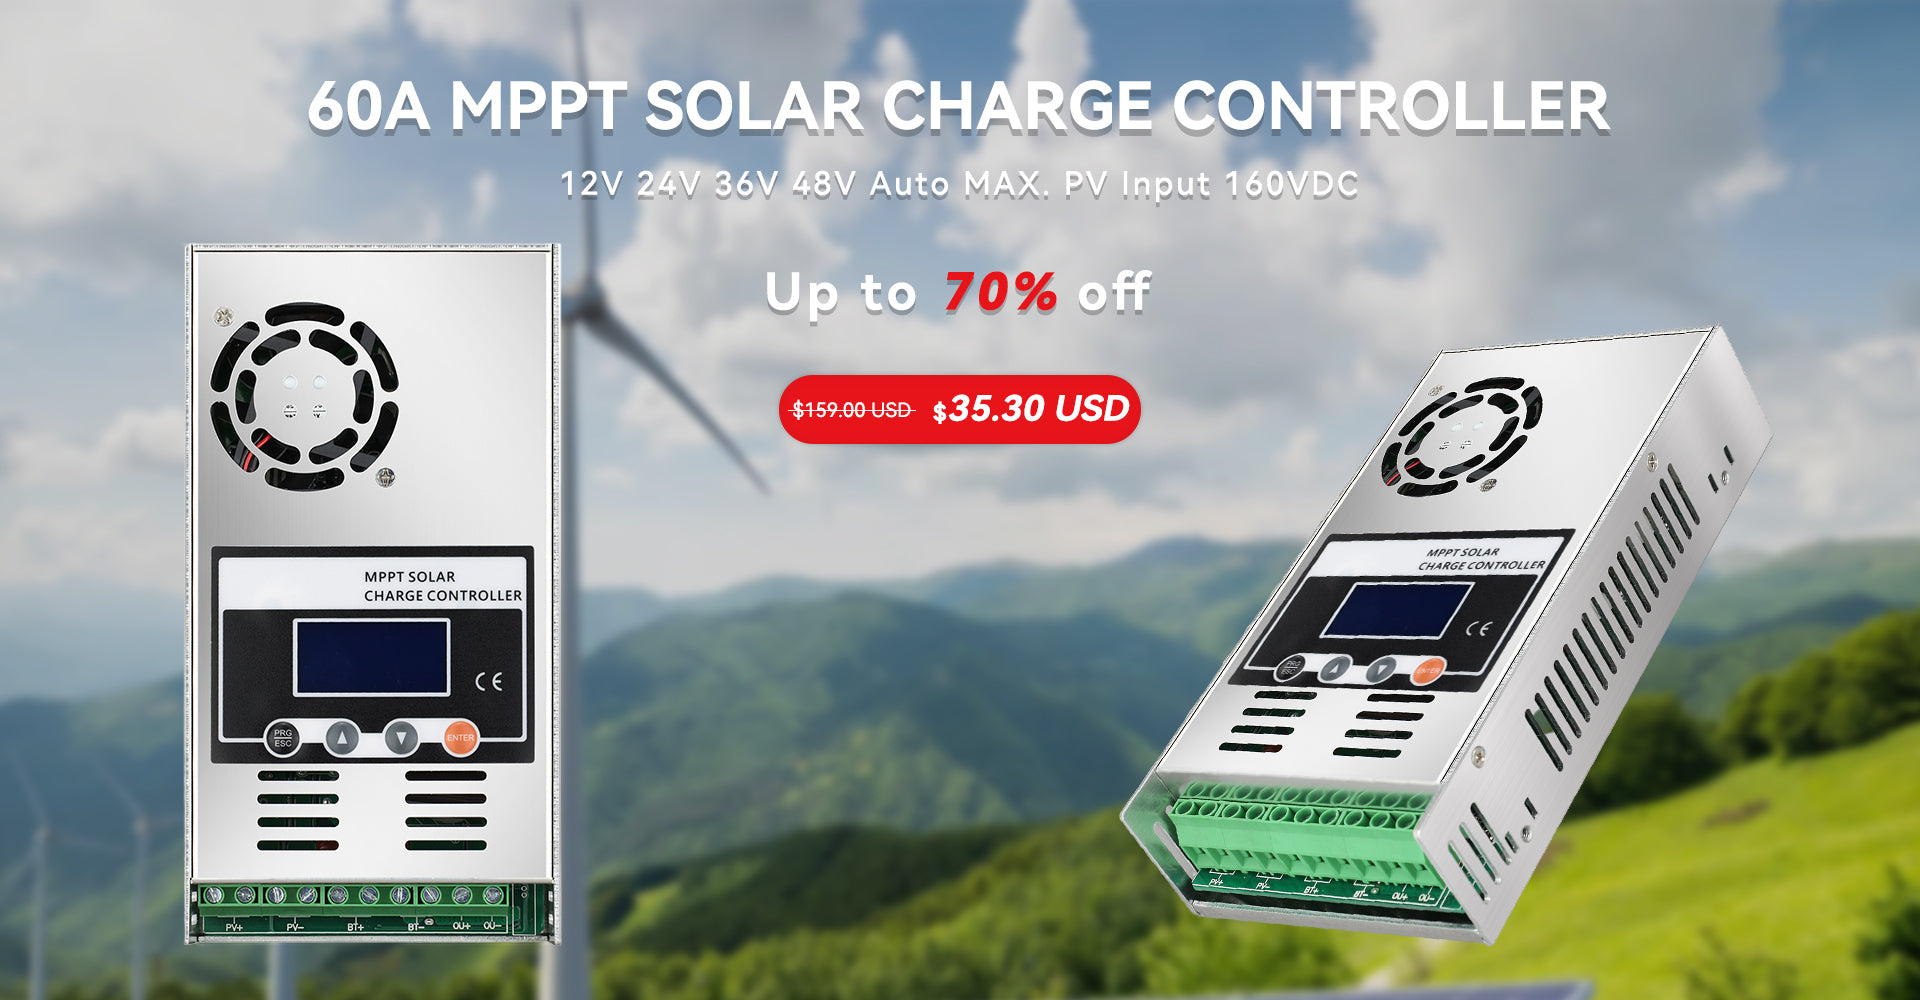
Before diving into the wiring process, it's crucial to understand what a solar charge controller is and its significance in your solar setup. A solar charge controller acts as a regulator that ensures your RV's batteries receive the right amount of charge from the solar panels. It prevents overcharging and prolongs battery life, a critical aspect of maintaining your energy system.
There are mainly two types of solar charge controllers: PWM (Pulse Width Modulation) and MPPT (Maximum Power Point Tracking). While PWM controllers are budget-friendly and suitable for smaller systems, MPPT controllers are more efficient, especially for larger RV solar setups. For optimal performance, consider investing in an MPPT controller.
Gathering the Necessary Tools and Equipment
Before embarking on the wiring process, ensure you have all the necessary tools and equipment ready. Here's a list to help you prepare:
1. Solar charge controller (MPPT recommended)
2. Solar panels
3. Deep-cycle batteries
4. Solar cables with appropriate connectors
5. Ring terminals and heat shrink tubing
6. Wire cutter/stripper
7. Screwdriver and screws
8. Drill (if required)
9. Multimeter
10. Circuit breaker (for safety)
With your tools at the ready, it's time to move on to the exciting part – the wiring process!
Wiring Your RV Solar Charge Controller
Step 1: Mounting the Solar Charge Controller
Select a suitable location inside your RV to mount the solar charge controller. Ensure it's easily accessible and well-ventilated to prevent overheating. Use screws and a drill, if necessary, to secure the controller in place.
Step 2: Disconnect the RV Batteries
For safety purposes, disconnect the RV batteries before proceeding with any wiring. This step will prevent accidental shocks or damage to the solar charge controller during installation.
Step 3: Connect the Solar Panels
Attach the solar panels to the RV's roof using appropriate brackets and secure them tightly. Take note of the solar panel's positive and negative leads and connect them to the corresponding terminals on the charge controller.
Remember to use solar cables with the correct gauge to minimize power loss. If you're unsure about the cable size, consult the solar panel manufacturer's guidelines or use an online solar cable gauge calculator.
Step 4: Wiring the Battery Bank
Connect the deep-cycle batteries in parallel or series, depending on your system's voltage requirements. Parallel connections maintain the voltage, but increase the ampere-hour capacity, while series connections increase the voltage. Check your RV's electrical system to determine the appropriate configuration.
Attach the battery cables to the charge controller, ensuring you connect the positive and negative terminals correctly. Use ring terminals for secure connections and cover them with heat shrink tubing to avoid any short-circuits.
Step 5: Attach the Load Output (if applicable)
Some charge controllers have a load output that allows you to power DC loads directly from the batteries. If your charge controller has this feature and you want to use it, attach the load's positive and negative leads to the corresponding terminals on the controller.
Step 6: Double-Check the Wiring
Once all the connections are in place, double-check the wiring to ensure everything is correctly connected. Use a multimeter to verify voltages and check for any potential issues. Safety should always be a priority when working with electrical components.
Step 7: Reconnect the RV Batteries
Now that the wiring is complete and checked, it's time to reconnect the RV batteries. Pay attention to the polarity and reconnect the positive and negative terminals accordingly.
Conclusion
Congratulations! You've successfully wired your RV solar charge controller, and you're now ready to harness the boundless power of the sun on your RV adventures. With a well-designed solar energy system, you'll enjoy the freedom of traveling off-grid while reducing your carbon footprint.
Remember, choosing the right solar charge controller and equipment is crucial for maximizing energy efficiency. Additionally, perform regular maintenance checks on your solar system to ensure optimal performance and longevity.
So, gear up, explore the world, and let the sun illuminate your journey with sustainable and renewable energy!
0 comments