DEAL OF THE DAY

1. What can a 2000 watt solar panel run?

A 2000 watt solar panel can run a variety of household appliances, including a refrigerator, washing machine and clothes dryer, a dishwasher, lights, heating and cooling systems, and more. Depending on the size and efficiency of the appliances, it could even power an entire home.
To build a 2000 watt solar power kit, you would need the following: solar panels and mounting hardware, an inverter, batteries, wiring and control systems, charge controllers and other accessories. You should also consider additional elements such as back-up generators and energy efficient appliances.
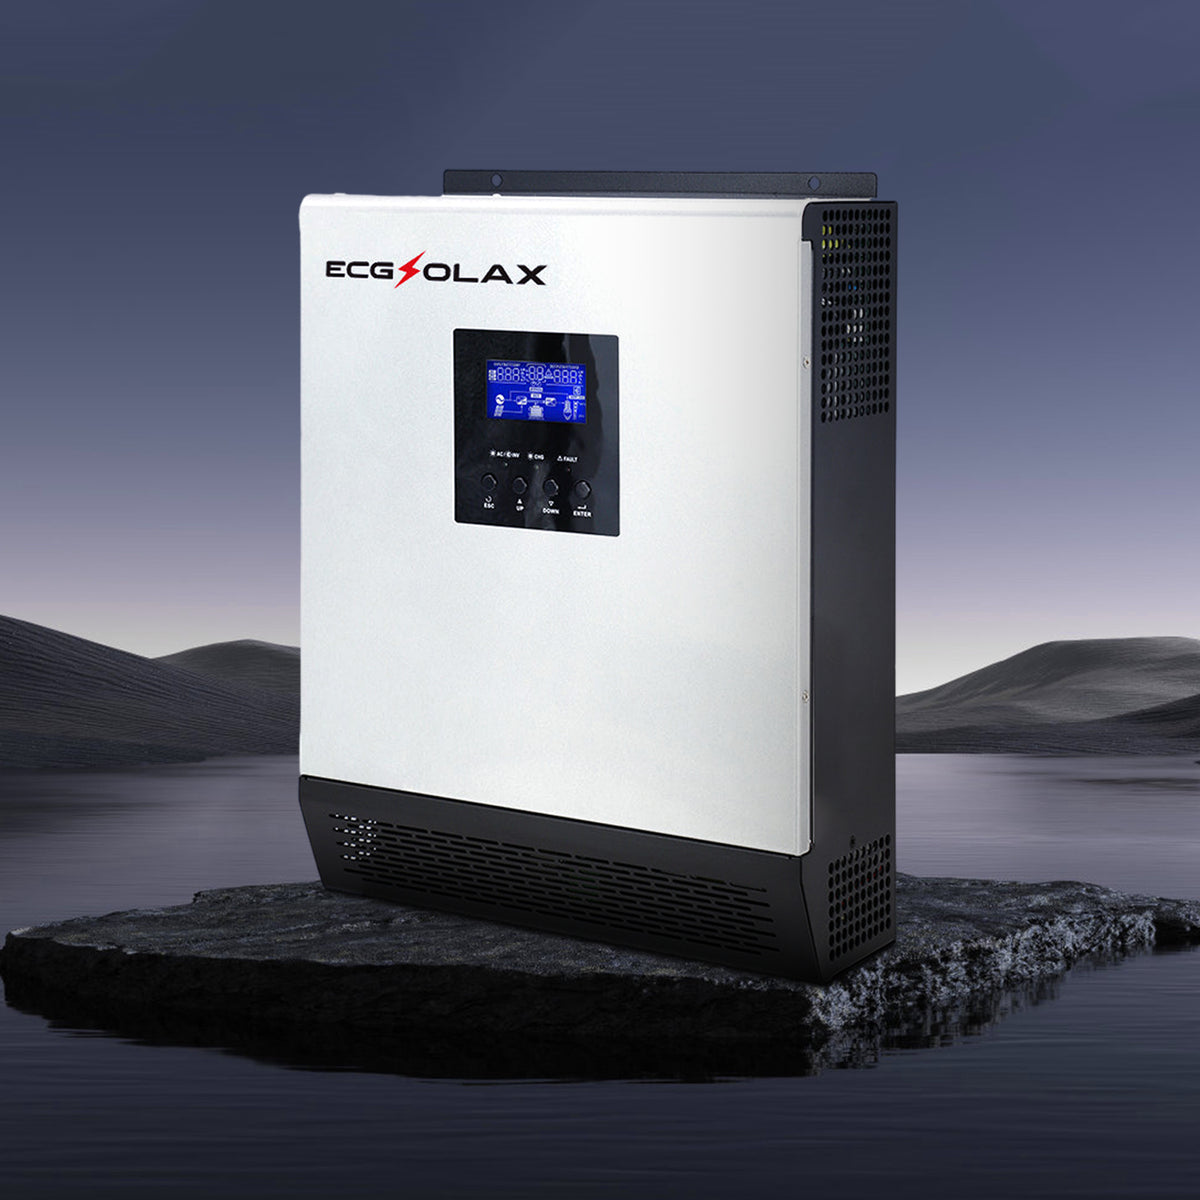
Solar inverters are an essential component of a solar power system. As solar power systems become more intelligent and interact more with the utility grid, the role of inverters continues to grow. In this article, we will introduce you to the basics of solar inverters, including what they are, how they work, and how to choose the right inverter for your solar power system. 1. What is a Solar Inverter? A solar inverter, also known as a photovoltaic (PV) inverter, is an electronic device that converts the DC power generated by solar panels into AC power. It is an essential component of any solar power system, as it ensures that the electricity generated by the solar panels is compatible with the electrical grid and can be used to power homes and businesses. 2. How Does a Solar Inverter Work? A solar inverter works by converting the DC power generated by the solar panels into AC power that can be used to power homes and businesses. It does this using a process called inversion, which involves converting the DC power into AC power that is compatible with the electrical grid. The process of inversion involves several stages. First, the DC power generated by the solar panels is fed into the inverter. The inverter then converts this DC power into AC power using a process called pulse width modulation (PWM). PWM involves rapidly switching the DC power on and off, which creates a waveform that is similar to AC power. This waveform is then filtered and smoothed to create a clean, stable AC power output. The solar inverter also performs several other important functions, including monitoring the performance of the solar panels and ensuring that the output voltage and frequency are compatible with the electrical grid. It also includes safety features that protect the system from overvoltage, undervoltage, and other electrical faults. 3. How to Choose the Right Inverter? Choosing the right inverter for your solar power system is essential to ensure that it performs at maximum efficiency and produces the most energy possible. Here are three steps to help you choose the right inverter for your system: Step 1: Identify Your Power Requirements The first step in choosing the right inverter is to identify your power requirements. This will depend on the size of your solar power system and the amount of electricity you need to power your home or business. You can calculate your power requirements by adding up the wattage of all the electrical appliances and devices you use and multiplying this by the number of hours you use them each day. For example, if you have a washing machine, a TV and two computers, each with a wattage of 300, 100 and 150 watts, then the total wattage you need is (300+100+150*2) = 700 watts. Step 2: Check the VA Rating of the Inverter The VA rating of the inverter is an important factor to consider when choosing the right inverter for your solar power system. The VA rating is a measure of the inverter's capacity to handle the maximum load of your electrical appliances and devices. VA = Power Requirement/Power Factor It is important to choose an inverter with a VA rating that is equal to or greater than your power requirements, which can be determined by dividing the total power requirement (in watts) by the power factor. If the power factor is 0.8, combined with the example above, then the required VA rating is 700/0.8 = 875 VA. Step 3: Get an Appropriate Battery for the Inverter If you are planning to use an inverter to power your home or business during a power outage, it is important to choose an appropriate battery that can provide the necessary backup power. The size and type of battery you need will depend on your power requirements and the duration of the outage. It is important to choose a battery that is compatible with your inverter and can provide the necessary backup power. In conclusion, When choosing the right solar inverter for your solar power system, it is important to consider your power requirements, the VA rating of the inverter, and the type of battery you need for backup power. By following these steps, you can ensure that your solar power system performs at maximum efficiency and produces the most energy possible.
As the cost of solar panels continues to decrease, more and more households are switching to solar energy. However, choosing the right battery for your solar inverter can be a daunting task. In this blog post, we’ll discuss the factors to consider when choosing a battery for a solar inverter, and how to find the right battery for your solar power system. 1. Determine Your Energy Needs The first step in choosing a battery for your solar inverter is to determine your energy needs. You’ll need to know how much energy your household consumes on a daily basis, as well as how much energy your solar panels can generate. This will help you determine the size of the battery you need. It’s important to note that batteries are rated in terms of their capacity, which is measured in kilowatt-hours (kWh). A 10 kWh battery, for example, can store 10 kilowatt-hours of energy. You’ll need to choose a battery with a capacity that is suitable for your household’s energy needs. 2. Consider the Battery Chemistry There are several types of batteries that can be used in a solar power system, each with its own advantages and disadvantages. The most common types of batteries used in solar power systems are lead-acid batteries and lithium-ion batteries. Lead-acid batteries are the oldest type of rechargeable battery and have been used in solar power systems for many years. They are relatively inexpensive and have a long lifespan, but they are heavy and require regular maintenance. Lithium-ion batteries are a newer type of rechargeable battery that have become increasingly popular in recent years. They are more expensive than lead-acid batteries but have a longer lifespan and require less maintenance. They are also lighter and more compact than lead-acid batteries, making them a popular choice for solar power systems. 3. Evaluate the Battery’s Performance When choosing a battery for your solar inverter, it’s important to evaluate the battery’s performance. This includes the battery’s efficiency, charge and discharge rates, and lifespan. Battery efficiency refers to how much energy is lost during the charging and discharging process. The more efficient the battery, the less energy is lost, which means more energy is available for use in your household. The charge and discharge rates refer to how quickly the battery can charge and discharge. This is important because it determines how quickly the battery can be used and how quickly it can be recharged. Finally, the battery’s lifespan is an important consideration. Batteries degrade over time, which means they will eventually need to be replaced. You’ll want to choose a battery with a long lifespan to minimize the frequency of replacements. Conclusion Choosing the right battery for your solar inverter is an important decision that can have a significant impact on the performance and efficiency of your solar power system. By determining your energy needs, considering the battery chemistry, and evaluating the battery’s performance, you can find the right battery for your solar power system.
With the development of renewable energy, more and more people are considering installing a home solar system. However, installing a solar system is not a simple task. In this blog, we will introduce the installation steps and precautions of solar systems to help you better understand how to install a solar system. Step 1: Connect the controller and battery The controller and battery are the most important parts of the solar system. Before installing the solar panel, the controller and battery must be connected first. The controller monitors the battery level and controls the flow of current to avoid overcharging or over-discharging. When connecting the controller and battery, be sure to follow the correct polarity and voltage specifications. Step 2: Install the solar panel The solar panel is the part of the solar system that collects solar energy. Installing the solar panel requires selecting a suitable location that can receive maximum sunlight. When installing the panel, ensure that it is mounted on a sturdy bracket and use appropriate installation tools to secure it. Step 3: Connect the solar panel and controller After installing the solar panel, it needs to be connected to the controller. During the connection process, it is necessary to follow the correct polarity and voltage specifications. In addition, appropriate cables are required to connect the panel and controller, ensuring that the cable is long enough and its quality can withstand the current load. Step 4: Connect the controller and inverter The inverter is the part that converts the direct current produced by the solar system into alternating current. When connecting the controller and inverter, it is necessary to follow the correct polarity and voltage specifications. In addition, appropriate cables are required to connect the controller and inverter, and ensure that the cable's quality can withstand the current load. Step 5: Connect the inverter and the grid Connecting the inverter to the grid is a key step to allow the solar system to transmit excess electricity to the grid. When connecting the inverter and the grid, it is necessary to follow local regulations and ensure the safety and reliability of the installation and connection. Precautions: When conducting electrical connections, make sure to disconnect all power sources and follow the correct procedures for connection. Pay attention to lightning and overvoltage protection, and use lightning protection and overvoltage protectors. Thoroughly check all equipment and parts before installation to ensure they are in good condition and follow all safety guidelines and recommendations. If you are unsure how to install a solar system, seek professional help to ensure safety and correctness. We hope these steps and precautions will help you. If you have any questions, please feel free to seek help from professionals.

OUR BLOG