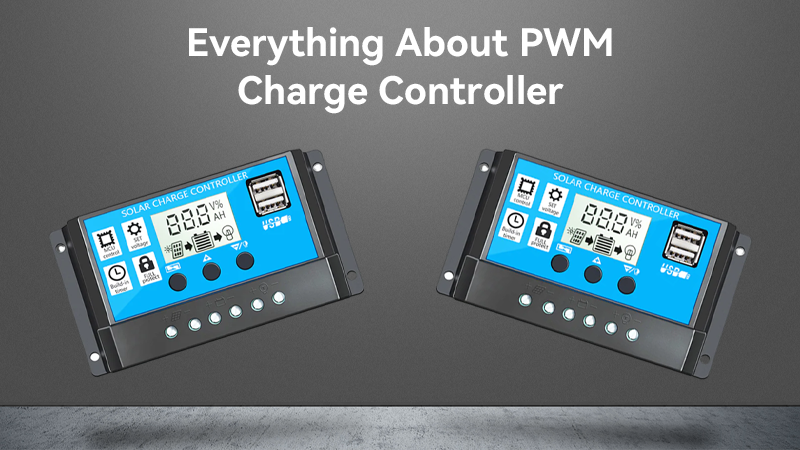
If you're delving into the world of solar power systems, you've likely come across the term "PWM Charge Controller". In this blog, we'll cover everything you need to know about PWM (Pulse Width Modulation) charge controllers, from what PWM stands for to how they work and their advantages and disadvantages.
What does PWM stand for in solar systems?
PWM stands for Pulse Width Modulation, a crucial technology in the realm of solar charge controllers. But what exactly does it mean in the context of solar systems? PWM refers to the method these controllers use to regulate the charging of your batteries. It's an efficient and popular choice for solar power applications.
How does a PWM solar charge controller work?
PWM solar charge controllers are designed to regulate the voltage and current coming from your solar panels to charge your batteries effectively. They work by adjusting the width of the electrical pulse sent to the battery. This helps maintain the battery at its optimal voltage level, preventing overcharging and ensuring longer battery life.
Advantages and disadvantages of PWM solar charge controllers
Advantages:
Cost-Effective: PWM charge controllers are often more affordable than their MPPT (Maximum Power Point Tracking) counterparts.
Simplicity: They are straightforward to set up and use, making them a popular choice for beginners.
Battery Maintenance: They help prolong the life of your batteries by preventing overcharging.
Disadvantages:
Lower Efficiency: Compared to MPPT controllers, PWM controllers are less efficient, especially in situations with low light or temperature variations.
No Voltage Boost: They can't boost the voltage like MPPT controllers, limiting their use with higher voltage panels.
Can I use a lithium battery with a PWM charge controller?
Yes, you can use a lithium battery with a PWM charge controller, but there are some considerations. Lithium batteries have specific voltage and charging requirements, so it's crucial to ensure that your PWM controller is compatible with the lithium battery you intend to use. For example, you may find PWM charge controllers designed for 12V or 24V systems. Check the product specifications and compatibility before use.
How to use a PWM solar charge controller
Using a PWM solar charge controller is relatively straightforward. Here are some general steps to get you started:
Connect Your Solar Panels: Attach your solar panels to the input terminals of the controller.
Connect Your Battery: Connect your battery to the battery terminals, ensuring the polarity is correct.
Connect the Load: If you have a load (e.g., lights or appliances), connect it to the load terminals on the controller.
Set Parameters: Some PWM controllers allow you to set parameters like battery type and voltage settings. Adjust these as per your requirements.
Monitor: Keep an eye on the controller's display or indicators to ensure it's functioning correctly.
How to install a PWM solar charge controller
The installation process of a PWM solar charge controller typically involves mounting the controller, connecting the solar panels, battery, and load, and configuring the settings. For detailed instructions on installation, you can refer to our previous blog about where to install charge controller and troubleshooting wire fitting issues in solar charge controllers.
In summary, PWM charge controllers are a reliable and cost-effective choice for managing your solar power system. They offer advantages like affordability and battery maintenance but have some limitations in terms of efficiency. Understanding how PWM controllers work and how to use them will help you make the most of your solar energy setup. Whether you're powering a 12V, 24V, 10A, 20A, 30A, or 60A system, there's a suitable PWM charge controller for your needs. Don't forget to consult the product specifications and user manual for specific guidance and compatibility.

0 Kommentare